Slides and SlideShows
If your design calls for a different image to be displayed at the top of each page, the best approach would be to use slides. Slides are handy because they allow you to show different pictures for each chapter (or a group of related chapters), while still using a single design.
Adding the slide
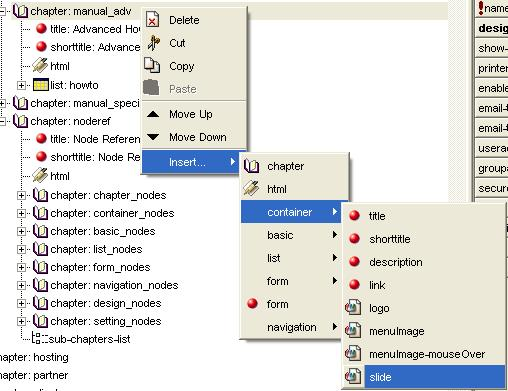
To add a slide, right-click on the chapter and select Insert > Container > Slide.
Once you have created your slide, it will appear in the last position of the chapter. When you click on the Slide node, a window will appear that will allow you to browse to the location where the slide image is saved:
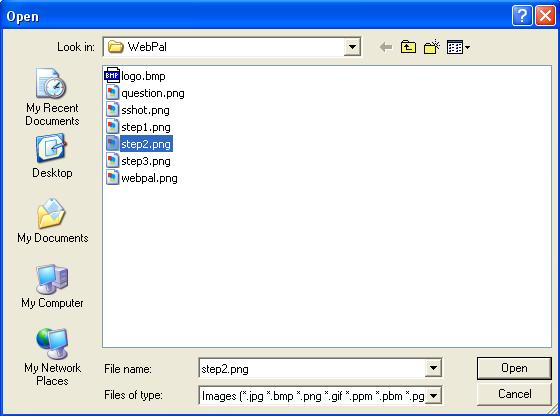
Browse to the location of the image you plan to use. Select it and click open. Use the Save button located in the Slide Editor, to save your picture, then use the Save button on the Webpal toolbar to save changes to your website.
Placement of the Slide.
To determine where your slide(s) are to be placed within a page, you must place the slide-show node in a design template.
To insert a slide-show node, you must first choose a layoutbox (or create one if necessary) within the design, then right click on that box and Insert >slide-show:
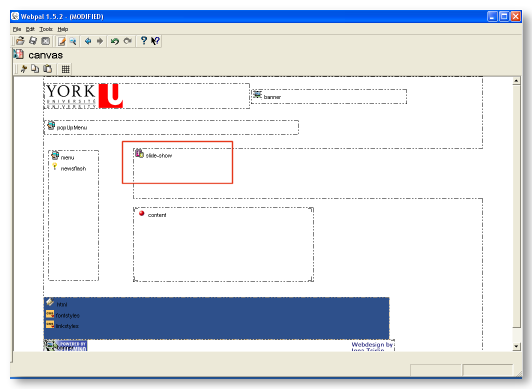
A sample layoutbox with a slide-show node:

Now, specify the size (with and height in pixels) of the image(s) to be used by double-clicking on the inserted node.
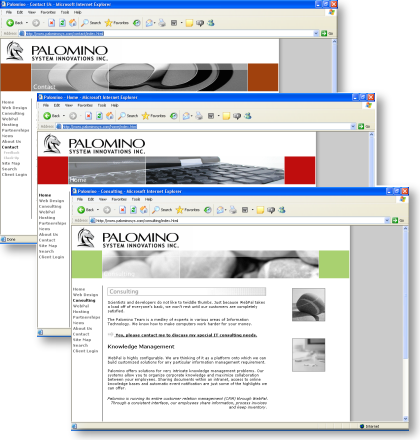
The Result?
Multiple pages with different images being displayed using a single design: