
Managing Your Users
The following tutorial demonstrates how to create a new user in WebPal CMS. Please note that there is no need to "review" or "publish" anything for the user setup to be completed; A standard "save" will suffice.
Step 1 - Add A User
In the "access" area ofyour site you will find a node called "users". Right-click and "insert" a new user.
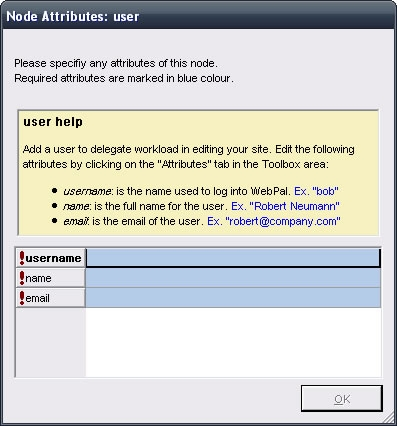
Each user requires:
- Username - This is what the user will use to log in with.
- Name - The name of the user
- Email - The email address of the new user. (Used in the review request process.)
Step 2 - Add A User To A Group
Now that you have added your new user, you must assign that user to a group.
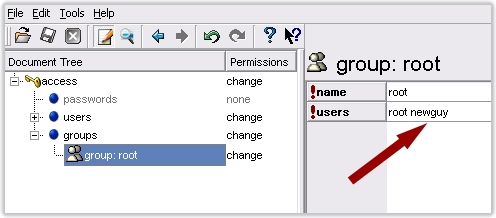
Expand the "groups" node and click on the group you would like to add the user to. (Or, right-click and insert a new group if you are assigning a new permission level.)
In the "users" field of that group simply add the new username (same 'username' as created for the user above) at the end of the list. NOTE: Usernames are separated by a single space only and are case specific.
Step 3 - Where Do I Create A Password For My New User?
When you setup a new user their password is always blank. Whatever password they enter the very first time they log in will be their password from then on.