
Adding and Removing a User
Add a new user to the WebPal DM system. Setup general roles for users by enabling or disabling administrative access.
Adding a User
Step 1
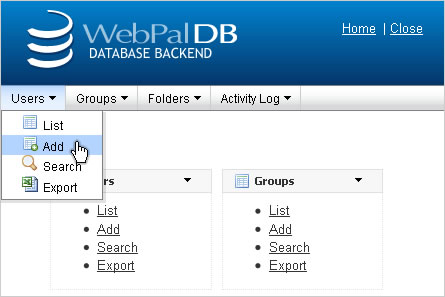
To add a user you begin by selecting "Add" from the "Users" drop down menu.
Step 2
When creating a new user you will need to provide the following details:
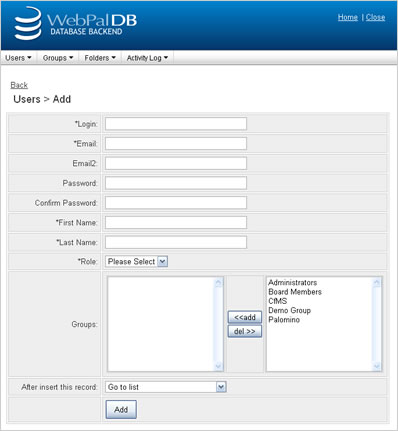
- Login - This can be a single word, or in most cases, and email address.
- Email - This is the user's email address and is used if group notification is enabled.
- Email 2- This is a secondary email address used in special group cases.
- Password - The user's password. Please note that these are encoded and therefore cannot be retrieved, only reset.
- Confirm Password - Confirm the user's password.
- First Name - The user's first name. Used for displaying "modified by" information.
- Last Name - The user's last name. Used for displaying "modified by" information.
- Role - Choose between "user" and "admin". An "admin" user has the ability to log in to the administrative area, add users, permissions and view log files. A "user" has no access to the administrative area.
- Groups - Select the group(s) which you would like to assign the user to. Learn more about groups.
Removing a User
Step 1
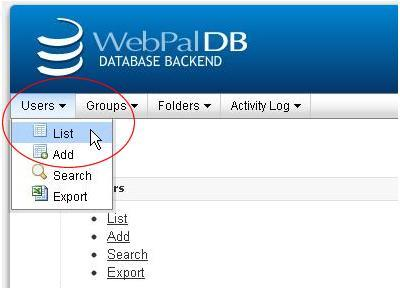
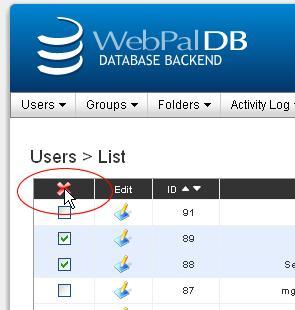
To remove a user you begin by selecting "List" from the "Users" drop down menu.
Step 2
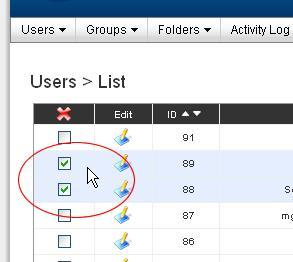
Select the checkboxes nest to the users you wish to remove.
Step 3
Select the red "X" at the top of the column to delete the user(s).
Step 4
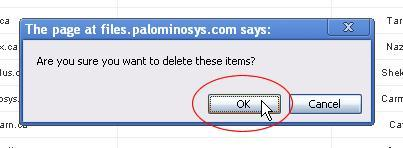
Confirm the removal of your contacts by selecting "OK"
That's it you're done! Now you'll want to move on to adding permissions for that user.